Posts mit dem Label Tag werden angezeigt. Alle Posts anzeigen

Sonntag, 21. August 2022

♥ DT Stamp Corner - Geburtstags Tags ♥

Hallo Ihr Lieben,

ich wünsche Euch einen schönen Sonntag und freue mich sehr, dass Ihr heute wieder hier auf meinem Blog vorbei schaut.

Heute ist wieder mein Inspirationstag auf dem Stamp Corner Blog und ich zeige Euch heute zwei Tags für Geburtstage. Ich liebe es ja für Geschenke selbstgestaltete Tags zu werkeln. Und die süßen Bären aus dem Stamp Corner - Stempel Set - Bärsday eignen sich wirklich perfekt dazu. Als Grundform der Tags habe ich diesmal die kleinste Stanze aus dem Stamp Corner - A6 DIE - Wave Set verwendet und aus Bristol Paper ausgestanzt.

Für das linke Tag habe ich den Pfeil mit dem VersaMark Stempelkissen mehrmals gestempelt und mit weißem Embossingpulver heiß embosst. Nachdem abkühlen habe ich das Tag dann mit Distress Oxide Picked Raspberry eingefärbt. Bei dem rechten Tag habe ich den Hintergrund mit Distress Oxide Tumbled Glass eingefärbt und anchließend das Stamp Corner - Stencil - Stencil 4 über den eingefärbten Hintergrund gelegt und nochmal mit Distress Oxide Salvaged Patina die Kreise eingefärbt. Die Bären aus dem Stamp Corner - Stempel Set - Bärsday habe ich mit Copics coloriert, mit der Schere ausgeschnitten und mit Foam Dots auf die Tags geklebt. Bei dem linken Tag habe ich den Text auf ein Rechteck gestempelt, welches ich mit der Stamp Corner - A6 DIE - Deckle Frames ausgestanzt und mit dem Tombow Multi Talent Liquid Glue aufgeklebt habe. Bei dem rechten Tag habe ich den Text direkt auf den Hintergrund gestempelt. Am oberen Rand habe ich mit meiner We R Memory Keepers - Crop-​A-Dile Multi Punch die Löcher für die farblichen passenden Eyelets gestanzt. Das dünne Garn ist aus meinem Bestand. Die Simple and Basic - Enamel Dots sind eigentlich weiß, aber sie lassen sich prima mit Copics farblich passend einfärben.

Ich wünsche Euch noch einen schönen Tag, Tschüssi und bis bald.

Materialliste:


Dienstag, 26. April 2022

♥ DT Magengo - Happy Mail / Miss You Tags ♥

  Hi everyone,

I wish you a happy Tuesday and I'm really glad to see you here again on my blog.

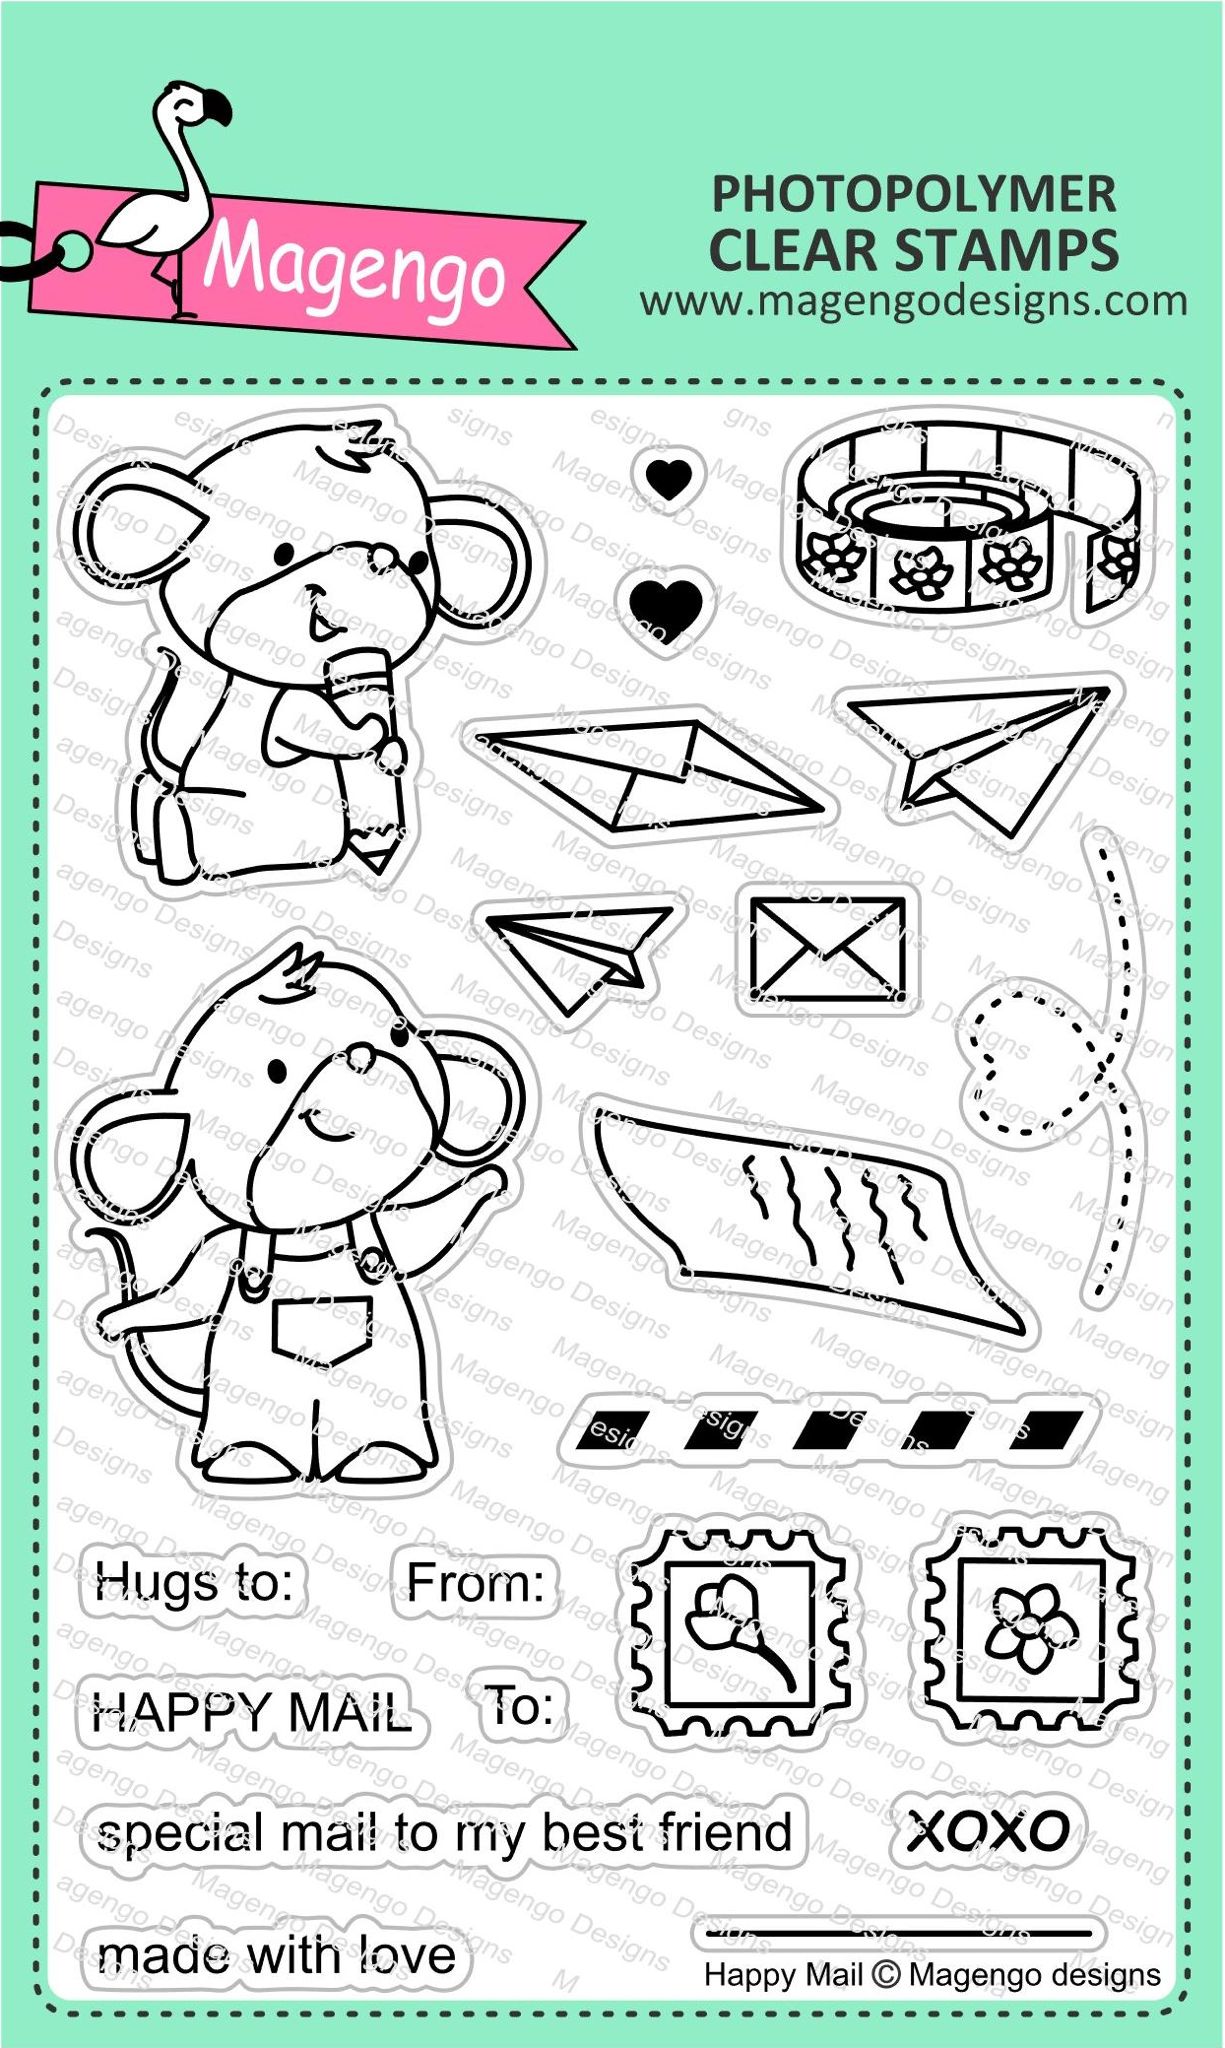
Today I show you on the Magengo Design Blog two Tags with images from the Happy Mail and the Home Sweet Home stamp sets.

I start my tags with cutting out the basic form with a dienamic from My Favorite Things. Then I stamp all images and color them with my Copic Marker. I cut them out with a scissors and put them aside. 

For the left tag I use the Happy Mail stamp set. I use Distress Oxide Tumbled Glass  for the sky and for the grass Twisted Citron. I arrange my images and glue them with liquid glue and some with Foam Tape on the tag. I stamp the sentiment with the Misti Tool directly on the tag.
 
For the right tag I use images from the Home Sweet Home stamp set.

For this tag I cut out some design paper for the background and some wooden paper for the floor. Then I arrange the images on the tag and glue them with liquid and Foam Tape on the tag.  I stamp the sentiment with my Misti Tool directly in the speech bubble and I'm really happy how my tags looks like.


Many thanks for stopping by and hope to see you soon here on the blog.
 

Samstag, 12. Februar 2022

♥ Sunny Studio Stamps - Penguin Tag and Slimline Card ♥

Hi everyone, 

I wish you a happy Saturday and I'm really glad to see you here agian on my blog.

Today I show you a new slimline card with dies from Lawn Fawn and stamps from Sunny Studio Stamps. As I saw these stamps for the first time, I knew I must order these cute penguin stamps.

i start my card first with cutting out the slimline panels with different Lawn Fawn dies. For the heart panel I create a heart background on Neenah Desert Storm Cardstock with a heart stencil and Distress Oxide Kitsch Flamingo and Picked Raspberry. After it is dry I glue it on the white scalloped slimline card panel. For the last panel I inked a piece of Bristol paper with Kitsch Lamingo and glue it on my smaller card base. Then I glue the other card panels on the background. For the turquoise heart I use some Lawn Fawn Tropical Shimmer cardstock. I color the cute images with my Copics and glue them with Foam Tape on my card. For the last step I glue some turquoise rhinstones on the card. For the small tag I create another heart background on a piece of Neenah Desert Storm cardstock and cut it out with a tag die. I glue the cute image also with Foam Tape on the tag. For the sentiment I use my Misti Tool.

 Many thanks for stopping by and I hope to see you soon here on my blog. Have a great weekend.

Montag, 13. Dezember 2021

♥ DT Magengo Designs - Christmas Tags ♥

  Hi everyone,

I wish you a happy Monday and I'm really glad to see you here again on my blog.

Today I show you some new Christmas tags with cute images from Magengo Designs.

I really love to make tags and especially for Christmas, it's a great way to send out some love with a Christmas present. For these tags I create a background with Distress Oxides Faded Jeans and cut them out with a die from My Favorite Things. I also cut out a white hill and glue it on the blue background. I use a Christmas tree die from Lawn Fawn for both tags.

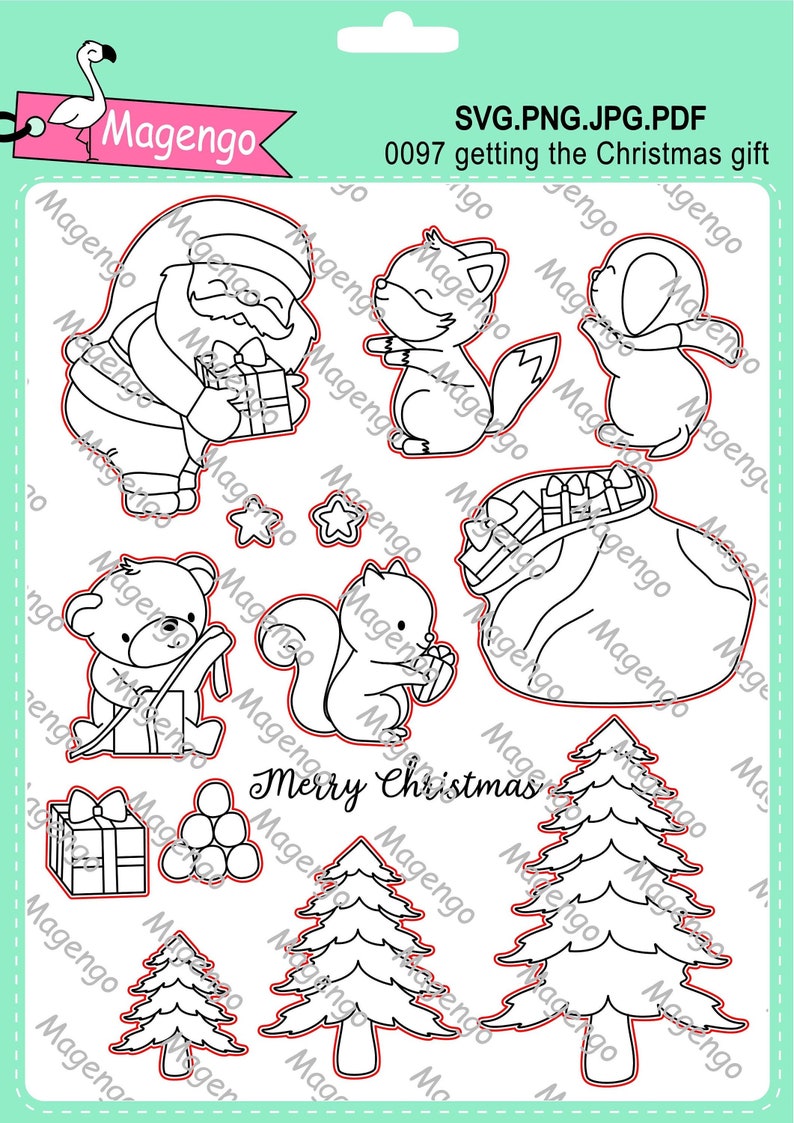
For this tag I use the cute little bear with the present from the Getting the Christmas Gift Set.  I colored the image with my Copics, fussy cut it out with a scissors and glue it with Foam Tape on the tag. 

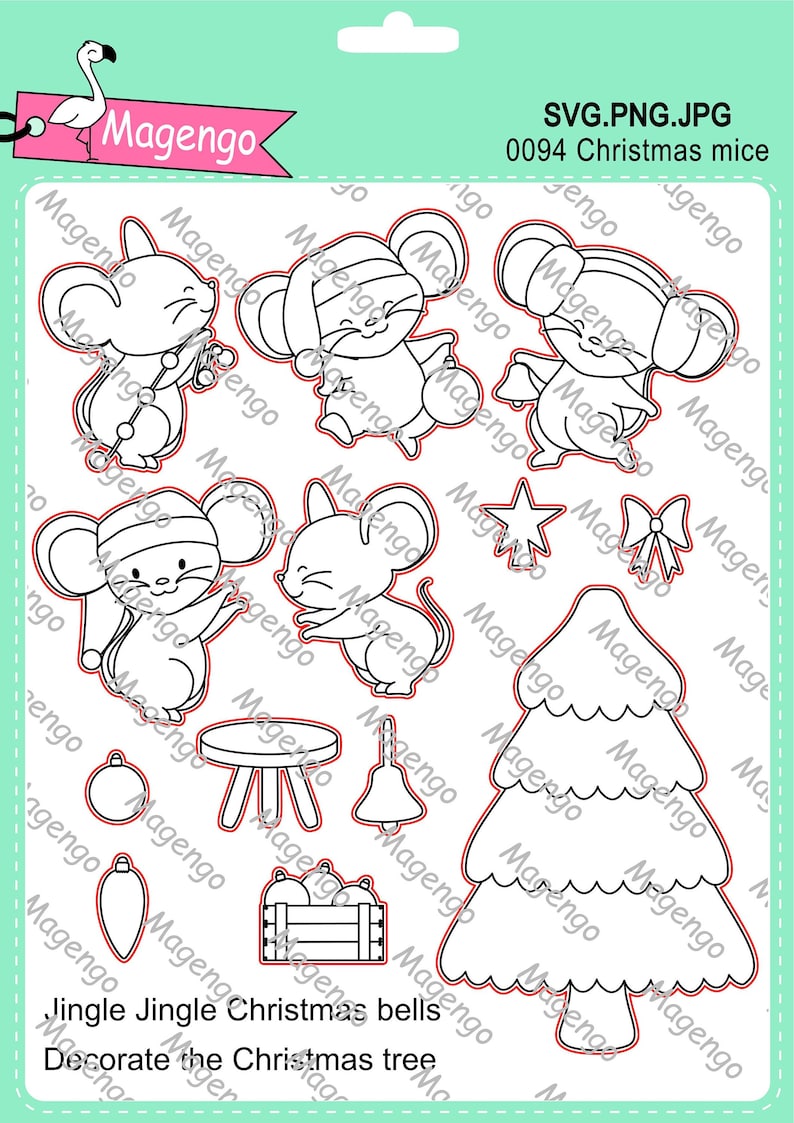
For the second tag I use the cute little mice from the Christmas Mice Set. I colored the mice with my Copics, fussy cut it out with a scissors and glue it with Foam Tape on the second tag. I stamp the sentiments on both tags with Versamark Ink on the background and use some golden embossing powder for heat embossing. For the last step I glue some white rhinestones on the tags and I'm really happy how they looks like. I hope you like them also and I could inspire you to make a Christmas tag for your loved ones.

I use images from these Magengo Designs Sets for my tags.

 Weihnachtsmäuse digitale Stempel und SVG-Datei Bild 1    Getting the Christmas Geschenk digitale Stempel und SVG Bild 1

Many thanks for stopping by and I'll hope to see you soon.

Montag, 26. April 2021

♥ DT Stamp Corner - Wikinger Shaker Tags ♥

 Hallo Ihr Lieben,

eigentlich sollte dieser Beitrag ja heute früh um 10:00 Uhr online gehen, aber manchmal kommt es im Leben halt anders.

Heute zeige ich Euch auf dem Blog von Stamp Corner zwei Shaker Tags mit den süßen Wikinger Stempel von Stamp Corner.


Für die Grundform der Tags habe ich die My Favorite Things Stitched Traditional Tag Stax Stanze verwendet. Den Hintergrund habe ich mit Distress Oxide Wild Honey und mit Speckled Egg eingefärbt. Das kleinere Tag mit dem Shaker Ausschnitt habe ich mit dem neuen Stamp Corner Design Papier ausgestanzt. Das neue Design Papier ist Teil des neuen Release, der ab dem 01.05.21 im Shop erhältlich sein wird. Ihr könnt echt gespannt sein, da sind soooooo viele geniale Produkte dabei.  Also notiert Euch das Datum in Eurem Kalender, damit Ihr nichts verpasst.

Die süßen Wikinger habe ich mit Copics koloriert, mit der Schere ausgeschnitten und mit dem neuen Stamp Corner Sticky Tape aufgeklebt. Für den Text habe ich einen Stempel aus einem Lawn Fawn Set verwendet.

Ich wünsche Euch noch einen schönen kreativen Tag, Tschüssi und bis bald.

Materialliste:

Montag, 28. September 2020

♥ DT Magengo - Time to read / You are so special to me ♥

 Hi everyone,

I wish you a happy Monday and I'm really glad to see you here again on my blog.

Today I'm on the Magengo blog and show you a new card and a tag with the cute Read more Digital stamps.

I must admit, that these stamps reminds me on my childhood, when my mother read to me every evening my favorite books. This was the best time of the day and I really love this time.

I start my card and the tag with creating a background with Distress Oxide Wild Honey and Aged Mahagony. Then I add some golden splahes on the background and let it dry.

I printed the images out with my laser printer and colored them with my Copic Marker. I fussy cut them out with my scissors and glue them on my backgrounds. For the cute bears I use Foam tape for a bit more dimension. I stamp the sentiment directly on the card and on the carpet some little flowers.  

I really love this cute scene and I hope you like it also. You'll find the Read More stamp set here in the shop.

Many thanks for stopping by and hope to see you soon here on my blog. Have a wonderful day.


Freitag, 25. September 2020

♥ ATC Verrückte - Kartentausch September - Herbst ♥

 Hallo Ihr Lieben, 

ich wünsche Euch einen schönen Freitag und freue mich sehr, dass Ihr heute wieder hier auf meinem Blog vorbei schaut.

In er Facebook Gruppe der #ATC Verrückten gab es im September wieder einen Kartentausch, diesmal mit dem Thema Herbst.

 Da meine Karte nun angekommen ist, kann ich sie Euch nun hier auch endlich zeigen.

Ich habe mich bei der Karte für das Harvest Mice Stempelset von Sunny Studio entschieden.


Den Hintergrund habe ich mit den Distress Oxide Fossilized Amber, Dried Marigold und Worn Lipstick gestaltet. Für den Rasen/ Gras habe ich Shabby Shutters und Peeled Paint verwendet. Ausgestanzt habe ich den Hintergrund mit der Meadow Backdrop Portrait Stanze von Lawn Fawn und auf meine weiße Grundkarte geklebt. Die Motive aus dem Sunny Studio Stamps  Harvest Mice Stempelset habe ich mit Copics coloriert und ausgeschnippelt. Für die Wolken habe ich die Cute Cloud Outlines Stanze verwendet. Den Rasen habe ich dann für ein bisschen Abstand noch ein zweites mal ausgestanzt, wieder mit Shabby Shutters und Peeled Paint eingefärbt und aufgeklebt. Die Motive habe ich zum Teil mit Foam Tape aufgeklebt. Den Text habe ich mit meinem Misti Tool direkt aufgestempelt. Zusätzlich zur Karte habe ich noch ein kleines Tag mit den Süßen Mäusen gewerkelt.

Nun sage ich Danke für Euren Besuch und wünsche ich Euch noch einen schönen kreativen Tag. Tschüssi und bis bald.

Mittwoch, 12. August 2020

♥ Clearly Besotted - Have a very mice day tags ♥

Hi everybody,

I wish you a happy Wednesday and I'm really glad to see you here again on my blog.

 Today I show you some cute tags with the Undercover Plushies from Clearly Besotted.

I cut out three little tags and add some Distress Oxides cross the tags. Then I cut out the middle of the tags and glue the tags with liquid glue on my tags base. For the middle part I use Foam Tape for more dimension. I color the images from the Undercover Plushies with Copics and Tri Blend Marker nad fussy cut them out with the scissors. I glue them with thin Foam Dots on the tags.  I use the Misti Tool for the sentiment and stamp it directly on the tags. For the final touch I glue some rhinestones on the tags and I'm very happy how these cute little tags looks like.

Many thanks for stopping by and I hope to see you soon here on my blog. Have a great day.

Samstag, 7. März 2020

♥ DT Stamp Corner - Koala Geschenkanhänger ♥

Hallo Ihr Lieben,
ich wünsche Euch einen schönen Samstag und freue mich sehr, dass Ihr heute wieder hier auf meinem Blog vorbei schaut.

Heute zeige ich Euch wieder einen Beitrag für den Blog von Stamp Corner.
Ich liebe es ja Geschenke mit kleinen Anhänger zu dekorieren und so zeige ich Euch heute mal ein paar Geschenkanhänger mit dem süßen Koala Stempel Set von Stamp Corner, in dem sich neben den süßen Koalas auch 7 Text Stempel befinden.
Die Grundform der Geschenkeanhänger habe ich mit der Lawn Fawn Saywhat?Gift Tags Stanze ausgestanzt. Die Hintergründe habe ich zum Teil gestempelt oder mit den Distress Oxide Stempelkissen und Stencils gestaltet. Die Koala Stempel habe ich mit meinen Alkohol Marker coloriert, mit der Schere ausgeschnitten und zum Teil mit Foam Dots aufgeklebt. Die Texte habe ich mit einer Stempelhilfe direkt aufgestempelt oder auf ein Banner aus dem Lawn Fawn - Simple Wavy Banners Set gestempelt. Dekoriert habe ich die Anhänger dann noch mit Glitzersteinen von Papermania.
So, ich hoffe ich konnte Euch etwas für das süße Koala Stempelset von Stamp Corner begeistern.

Nun sage ich Danke für Euren Besuch und wünsche Euch noch ein kreatives Wochenende.
Materialliste:

Sonntag, 1. März 2020

♥ DT Sparkles Christmas Challenge - Anything but a card ♥

Hi everybody,
I wish you all a happy Sunday and I'm really glad to see you here again on my blog.

Today we start a new challenge at
Sparkles Christmas Challenge
For this challenge it's my turn to choose the theme and so we want to see
Anything but a Card

I'll hope you like the theme and join our new challenge.

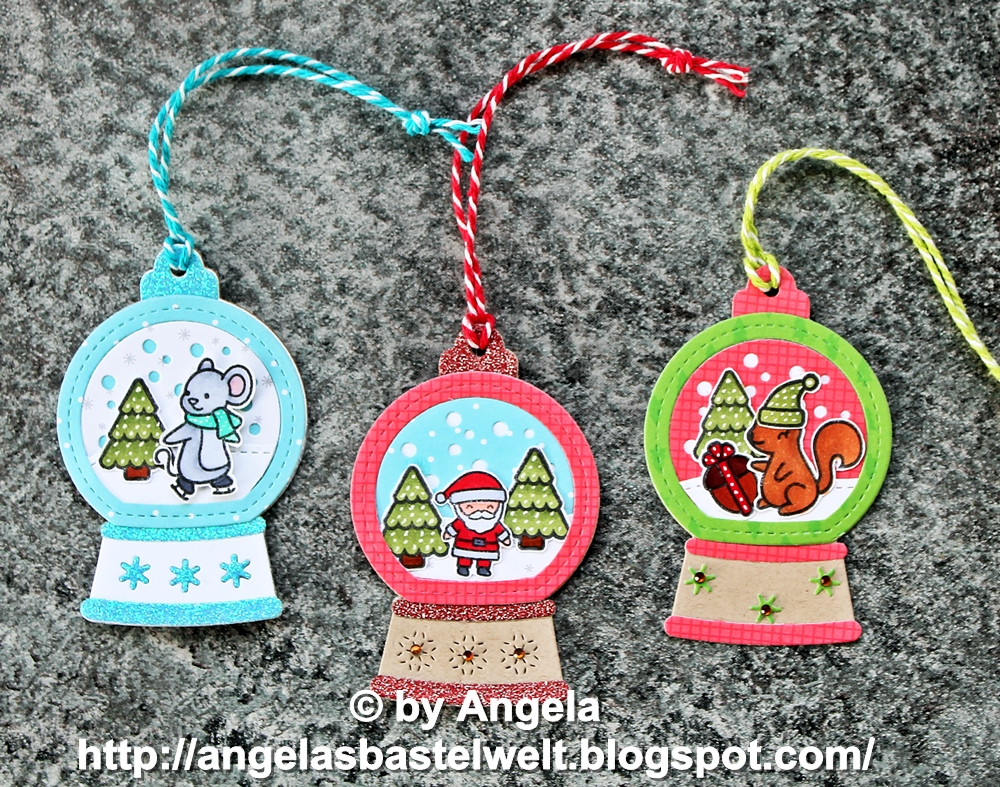
I decide to create some Snow Globe Gift Tags with the cute die from Lawn Fawn.
I use different papers from the Really Rainbow Christmas design paper pad and some little cute critters for my gift tags. I colored them with my Copics and Spectrum Noir Tri Blend Marker and fussy cut them out with my scissor. For the final touch I glue some rhinestones on the gift tags.

So I'll hope you like my little gift tags and join our new challenge.

With my gift tags I'll take part of these challenges:


Many thanks for stopping by and I hope to see you soon here on my blog. Have a great day.

Dienstag, 10. Dezember 2019

♥ DT Stamp Corner - Baked with Love Tags ♥

Hallo Ihr Lieben,
ich wünsche Euch ein schönen Dienstag und freue mich sehr, dass Ihr heute wieder hier auf meinem Blog vorbei schaut.
Mögt Ihr auch so gerne Weihnachtsplätzchen? Bei uns ist in der Weihnachtszeit immer das große Backen angesagt und so haben wir am letzten Wochenende wieder jede Menge Plätzchen gebacken.
Da wir auch welche an liebe Freunde und Kollegen verschenken, habe ich ein paar Geschenkanhänger dafür gewerkelt. Na und da passt doch das Baked with Love Stempel Set von Mama Elephant natürlich perfekt dazu,

Für die Anhänger habe ich einmal die Stitched Traditional Tag STAX Die-namics und die Double Stitched Circle STAX Die-namics Stanzen von My Favorite Things verwendet. Gemattet habe ich die Tags mit Kraft Cardstock. Die Hintergründe der Tags habe ich mit den Distress Oxides Tumbled Glass und Peeled Paint eingefärbt. Für die Bäume habe ich die Birch Tree Stanze von Lawn Fawn verwendet und mit Distress Oxide Antique Linen eingefäbt. Die Motive aus dem Baked with Love Stempel Set von Mama Elephant habe ich mit meinen Alkohol Marker coloriert und mit der Schere ausgeschnitten (Es gibt natürlich auch die passenden Stanzen dazu).
Bei beiden Tags habe ich am oberen Rand noch ein Bändchen und ein Charm Anhänger angebracht.

Nun sage ich Danke für Euren Besuch und wünsche Euch noch einen schönen Tag. Tschüssi und bis bald.
Materialliste:

Donnerstag, 14. November 2019

♥ DT Stamp Corner - weihnachtliche Elch Tags ♥


Hallo Ihr Lieben,
ich wünsche Euch einen schönen Donnerstag und freue mich sehr, dass Ihr heute wieder hier auf meinem Blog vorbei schaut.
Habt Ihr schon süßen weihnachtlichen Elchstempel im Shop von Stamp Corner entdeckt? 
Ich finde die ja so süß und habe damit zwei weihnachtliche Tags gestaltet.
Die Grundform der Tags habe ich mit der My Favorite Things Stitched Traditional Tag STAX Die-namics ausgestanzt. Beim linken Tag habe ich den Hintergund mit dem Schneestempel aus dem Snow Cool Set von Lawn Fawn mit dem VersaMark Stempelkissen gestempelt und mit dem weißen Emossingpulver von Lawn Fawn heiß embosst. Nach dem der HG abgekühlt war, habe ich das Tag mit den Distress Oxide Tumbled Glass und Faded Jeans eingefärbt. Für den Schneehügel habe ich die My Favorite Things Stitched Snow Drifts Die-namics verwendet und mit einem Pünktchen Embossing Folder geprägt. Den Text habe ich mit Foam Tape auf das Tag geklebt. Auf den Baum habe ich noch kleine Glitzersteine als Kugeln aufgeklebt.
Beim rechten Tag habe ich den Hintergrund nur mit Distress Oxide Tumbled Glass eingefärbt. Für den Grasshügel habe ich ein Stück Aquarellpapier mit grüner Aquarellfarbe eingefärbt und nach dem trocknen mit der Lawn Fawn Forest Border Stanze ausgestanzt. Die kleinen Sterne habe ich mit einem Stanzer aus goldenem Glitzer und Spiegelkarton ausgestanzt. Den Text habe ich diesmal mit meinem Misti Tool direkt aufgestempelt. Den Elch mit den Geschenken habe ich mit Foam Tape aifgeklebt.
Beide Tags habe ich nochmal mit Kraft Cardstock gemattet und noch ein Bändchen angebracht.
Ich wünsche Euch noch einen schönen Tag und sage Danke für Euren Besuch. Tschüssi bis morgen.
Materialliste:


Freitag, 20. September 2019

♥ DT Stamp Corner - Tag mit glitzerndem Embossing Hintergrund ♥

Hallo Ihr Lieben,
ich wünsche Euch einen wunderschönen Freitag und freue mich sehr, dass Ihr heute wieder hier auf meinem Blog vorbei schaut.
Heute zeige ich Euch auf dem Blog von Stamp Corner ein Tag mit dem süßen Stamp Corner Gnome 3 Stempel.
Dafür habe ich ein Stück Cardstock mit Distress Oxide Spun Sugar eingefäbt. Darüber habe ich dann ein Herzchen Stencil gelegt und mit einer Glimmer Paste den Hintergund gestaltet. Nach dem trocknen habe habe ich dann ein Tag mit der My Favorite Things Stitched Traditional Tag STAX Die-namics ausgestanzt. Für den Tag Hintergrund habe ich die Tagstanze nochmal auf Kraft Cardstock aufgezeichnet und ausgeschnitten.

 Den mittleren Teil habe ich mit der kleineren Tag Stanze ausgestanzt und mit Foam Tape wider aufgeklebt. Den kleinen süßen Gnome habe ich mit dem Memento Ink Tuxedo Black gestempelt, mit meinen Copics coloriert und ausgeschnippelt. Damit der kleine Gnome auch etwas gitzert, habe ich auf die Herzchen noch etwas Glitzer mit dem Wink of Stella Clear Brush aufgetragen und mittag uaf das kleiner Tag geklebt. Den Text aus dem Freunde 2 Stamp Corner Stempel Set habe ich auf ein Banner gestempelt und unter den Gnome geklebt. Dekoriert habe ich das Tag dann noch mit ein paar kleinen bronzenen Glitzersteinchen von Papermania.

Ich hoffe Euch gefällt mein kleines Tag.
 Nun sage ich Danke für Euren Besuch und wünsche Euch noch einen schönen Tag. Tschüssi bis bald.
 
Materialliste:

Donnerstag, 22. August 2019

♥ Clearly Besotted - Seasonal Tags ♥

Hi everybody,
I wish you a happy Thursday and I'm really glad to see you here again on my blog.

Today I show you some seasonal Tags with the All Four Seasons and Scene It Seasons stamps from Clearly Besotted. As I saw these cute little penguins for the first time,  I know that it would be great to create some seasonal tags with them.
  I use for all Tags the My favorite Things Stitched Traditional Tag STAX Die-namics. I color the images with my Copic Markers and use the Distress Oxides for the backgrounds.

For the Spring Tag I color the background with my Copic Markers.
 For the Summer Tag I use Distress Oxide Tumbled Glass for the sky and Antique Linen and Tea Dye for the sand. I also add some brown and white dots with my Copics on the sand.
 For the Autumn Tag I use the Dried Marigold, Spiced Marmalade, Seedless Preserves for the sky and Peeled Paint for the grass.
 For the Winter Tag I use Distress Oxide Tumbled Glass and Chipped Sapphire for the sky and Ice Spruced for the snow hills.
For the snow I use a stencil from Create a Smile and some Glimmer Paste.

So I'm really happy how the Tags looks like and I'll hope you like it also.

With my Seasonal Tags I'll take part of these challenges:


Many thanks for stopping by and I hope to see you soon here on my blog. Have a great day.

Freitag, 2. August 2019

♥ Lawn Fawnatics - Challenge #57 Little Things ♥

Hi everybody,
I wish you a happy Friday and I'm really glad to see you here again on my blog.

Today I show you some tags which I made for the 
 I decided to create some little tags with the Lawn Fawn Say What Gift Tags die.
I create some different tags with many different stamp sets. In the first row I create a birthday shaker tag with the Birthday Before'n After stamp Set.  On the Easter tag I use the Some Bunny stamp set. For the third tag I create a Halloween Tag with the Forest Feast stamp set. And on the last tag in the first row I use the reindeer from the Cheery Christmas stamp set for a christmas tag.
In the second row I create some seasonal tags. For the spring tag I use images from the Butterfly Kisses stamp set. For the summer tag I use images from the Smooth Sailing stamp set. For the autumn tag I use images from the Forest Feast stamp set and on the winter tag I use images from the Snow Cool stamp set.
I had so much fun to create these little tags and I hope you like them also.

With my tags I'll take part of the


Many thanks for stopping by and I hope to see you soon here on my blog. Have a great day.

Sonntag, 24. März 2019

♥ Craftin Desert Divas - Fairies Tags for Creative Inspiration Challenge with Pastel Colors ♥

Hi everybody,
I wish you a happy Sunday and I'm really glad to see you here again on my blog.

Today I show you another inspiration for Craftin Desert Divas monthly 
#cddcreativeinspiration
♥ Craftin Desert Divas Creative Inspiration ♥
 We hope you'll join us and create a project with Craftin Desert Divas products. Show us your creation on the Facebook Gallery or on Instagram with #cddcreativeinspiration and you'll have a chance to win. More details you'll find here.
This month we start with the Creative Inspiration Challenge with the theme

Interactive Card OR Pastel Colors Theme
For this day I decide to create some Fairy Tags in Pastel Colors.
I start first to create a pastel background with Distress Oxides Spun Sugar and Tumbled Glass. After it is dry I use the Star Galaxy Stencil and lay it over my background.I ink the background again with Spun Sugar and Tumbled Glass.
Then I cut it out with the Fancy Stitched Label Dies, I also cut out two frames with these dies and glue it on my background. Now I printed the Magic and Sunshine Digital Stamps on a piece of Copic paper. I color the images with Copics and fussy cut them out with my scissors. Then I glue the Fairies with Foam Tape on my tags. The sentiment is also from the Magic and Sunshine Digital Stamps.
For the final touch I glue some Pastel Paradise Sequins on my Tags.

So I'll hope you like my new inspiration and join the Craftin Desert Divas Facebook Gallery for more inspirations.

Many thanks for stopping by and I hope to see you soon here on my blog. Have a great day.