Freitag, 30. Juli 2021

♥ DT Stamp Corner - Zwei unterschiedliche Tags ♥

 Hallo Ihr Lieben,

ich wünsche Euch einen schönen Freitag und freue mich sehr, dass Ihr heute wieder hier auf meinem Blog vorbei schaut.

Eigentlich sollte dieser Beitrag ja schon heute früh auf dem Blog von Stamp Corner online gehen, aber ich habe total vergessen eine neue Inspiration zu werkeln, also habe ich mich morgens gleich an meinen Basteltisch verzogen und zwei unterschiedliche Tags für Euch gewerkelt.

Für das linke Shaker Tag habe ich die süße Maus aus dem Stamp Corner Maus Set verwendet. Den Hintergrund habe ich mit Distress Oxide Wild Honey eingefärbt und mit dem Punkte Stencil von Stamp Corner nochmal mit Distress Oxide Dried Marigold.aufgetragen. Anschließend habe ich alles mit der My Favorite Things Stitched Traditional Stax Stanze ausgestanzt. Am oberen Rand habe ich bei beiden Tags ein Eyelet von We R Memory Keepers gestanzt und ein Stück Kordel duchgefädelt. Für das rechte Tag habe ich den Hintergrund mit Distress Oxide Worn Lipstick eingefärbt und die Wolken mit dem My Favorite Tings Cloud Stencil mit Distress Oxide Picked Raspberry aufgetragen. Die untere Wolkenbordüre habe ich mit einer Stanze aus dem Puffy Cloud Border Set von Lawn Fawn aus dem Perfect Colouring Paper ausgestanzt. Der Text ist aus dem Lawn Fawn Set Swan Soiree und passt doch perfekt zu dem neuen Motiv. Ja Ihr habt richtig gelesen, dass Set ist erst ab dem 01.08.2021 im Shop von Stamp Corner erhältlich. Das Motiv habe ich wieder mit Copics coloriert, mit der Schere ausgeschnitten und mit Foam Dots auf das Tag geklebt. Zum Abschluss habe ich noch ein paar kleine Glitzersterne ausgestanzt und aufgeklebt.

Ich hoffe Euch gefallen meine beiden Tags , ich wünsche Euch noch einen schönen Freitag. Vergesst nicht am 01.08.2021 im Shop vorbei zu schauen und Euch die Neuheiten aus dem Shop zu sichern.

Tschüssi und bis bald

Donnerstag, 29. Juli 2021

♥ Lawn Fawnatics - Challenge #105 Fun with Food - Life's a PICNIC with you ♥

 Hi everyone, 

I wish you a happy Thursday and I'm really glad to see you here again on my blog.

Tody I show you a new slimline card for the current

 Lawn Fawnatics challenge #105 Fun with Food.

I use many many Lawn Fawn stamps for my slimline cards and create a cute picnic scene. I start my card as always by stamping the images, color them with my Copics and fussy cut them out with a scissors. Then I create my background, I inked a piece of Bristol Smooth cardstock with Distress Oxide Tumbled Glass and Peacock Feathers.  I cut it out with the large slimline die from Lawn Fawn. 


I also cut out a hill with a border die from Lawn Fawn and a grass border, for inking I use Distress Oxide Twisted Citron and Peelded Paint. I glue the borders on the blue background and create my picnic scene on the card panel. I glue the images with the Lawn Fawn glue and some with Foam tape on the card panel. I stamp the sentiment with my Misti Tool directly on the card and I'm so happy how the card looks like.

With this card I take part of the 

Lawn Fawnatics challenge #105 Fun with Foods

Many thanks for stopping by and I wish you an amazing day.

Montag, 26. Juli 2021

♥ DT Stamp Corner - gepimpte Gnome Wundertüte ♥

Hallo Ihr Lieben,

ich wünsche Euch einen schönen Montag und freue mich sehr, dass Ihr heute wieder hier auf meinem Blog vorbei schaut.

Heute zeige ich Euch auf dem Blog von Stamp Corner eine gepimpte Geschenk / Wundertüte, bei der ich einen der süßen Glücksbringer Gnome Stempel  und die geniale Wundertüte Stanze von Stamp Corner verwendet habe.

Als Tüte habe ich eine Papier Tasche von Rayher verwendet und mit verschiedenen Papieren beklebt. Damit sich die Papiere etwas von der hellbraunen Tüte abheben, habe ich erst eine Lage Perfect Colouring Paper und dann Design Papiere von My Favorite Things verwendet. Die Ränder der Papiere habe ich mit dem Distress Tool aufgeraut, ich mag diesen Look sehr gerne. Das gelbe Papier habe ich vor dem aufkleben noch mit einer Stanze aus dem My Favorite Things Stitched Basic Edges Set ausgestanzt. An zwei Ecken habe ich noch ein zum colorierten Motiv passende Aqua Eyelets von We R Memory Keepers befestigt. Die Papiere habe ich anschließend mit dem Stamp Corner Sticky Tape auf die Papier Tüte aufgeklebt. Den süßen Gnome mit den Blumen habe ich auf ein Stück Perfect Colouring Paper gestempelt und mit einer Stanze aus dem My Favorite Things: Double Stitched Circle Stax Set ausgestanzt und mit Foam Dots aufgeklebt. Coloriert habe ich den Gnome wieder mit meinen Copics.

Das Wort Wundertüte habe ich mit der Stamp Corner Stanze Wundertüte aus Perfect Colouring Paper ausgestanzt und dann mit den Copics BG11 und BG13 eingefärbt, damit es sich auf dem gelben Design Papier abhebt und zum Gnome und den Eyelets passt. Nun ist meine Geschenk / Wundertüte fertig zum befüllen für den nächsten Geburtstag.

Ich wünsche Euch noch einen kreativen Tag, Tschüssi und bis bald.

Materialliste:

Freitag, 23. Juli 2021

♥ DT Magengo - You light up my live card ♥

  Hi everyone,

 I wish you a happy Friday and I'm really glad to see you here again on my blog.

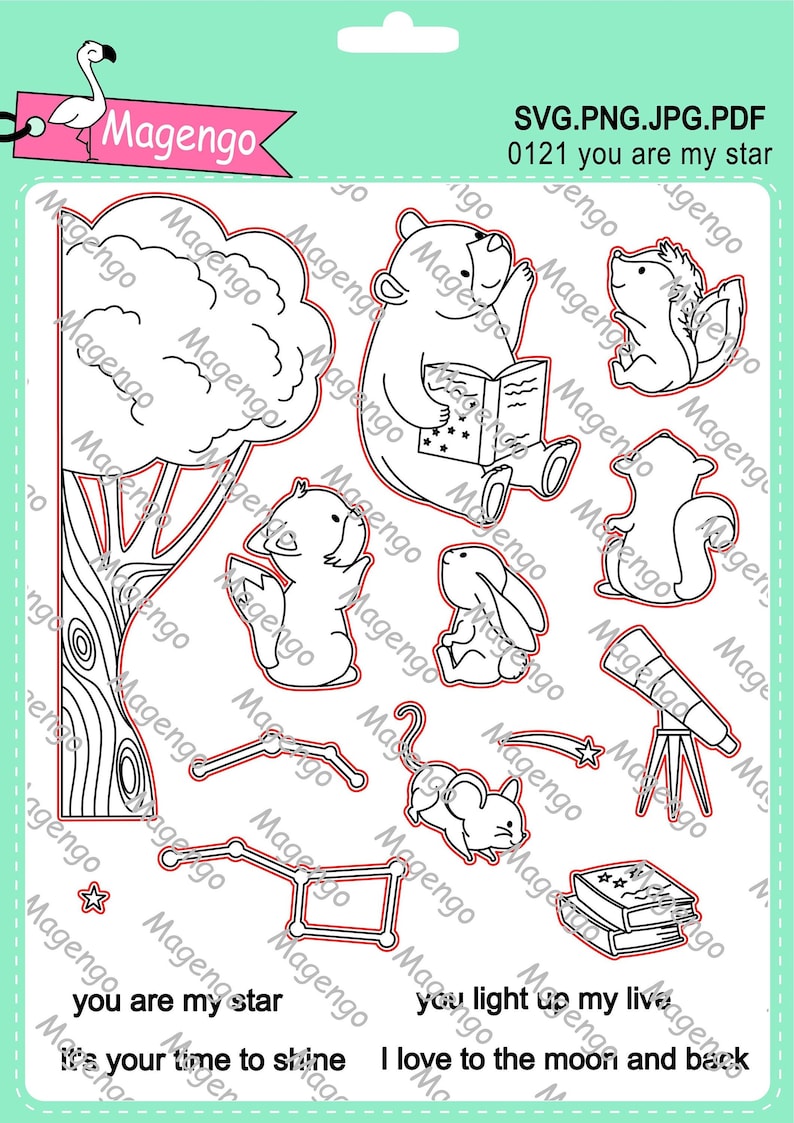
Today I show you on the Magengo Design Blog with a new inspiration card. For my card I use the cute You are my Star digital stamp set.

You find the You are my star set here in the Magengo Etsy shop.

I start my card with printing out the images from the You are my star set with my laser printer. Then I colored all images with my Copic Marker and fussy cut them out with a scisssors. After that I create my background. I printed the the sentiment on a piece of Neenah solar white cardstock and cut it out with a stitched rectangle die. Then I inked the background with Distress Oxide Seedless Preserve, Wilted Violet, Blueprint Sketch and Twisted Citron. Then I decide to cut out a grass border and inked it with Twisted Citron and glue it for more dimension with Foam Tape on the background. I glue all images with liquid glue and Foam Tape on the background and then the background on my white cardbase. For the last step I cut out some little stars with golden glitter cardstock and glue them on the sky of my background.

I hope you like my new inspiration card. You'll find the You are my star digital stamp set here in the Magengo Etsy shop.

Sie sind mein Stern Stempel Set SVG-Dateien druckbare Foto Bild 0 

Many thanks for stopping by, happy crafting and hope to see you soon here on the blog.


Sonntag, 18. Juli 2021

♥ DT Stamp Corner - Slimline Karte mit Toucan Do it von Lawn Fawn ♥

 Hallo Ihr Lieben,

ich wünsche Euch einen schönen Sonntag und freue mich sehr, dass Ihr heute wieder hier auf meinem Blog vorbei schaut.

Heute zeige ich Euch auf dem Blog von Stamp Corner meine neue Slimline Karte mit den süßen Toucan Do it Stempeln von Lawn Fawn, die natürlich auch im Shop von Stamp Corner erhältlich sind.

Für den Hintergrund habe ich ein Stück Bristol Smooth Cardstock mit den Distress Oxide Worn Lipstick, Spun Sugar, Fossilized Amber, Dried Marigold, Twisted Citron und Peeled Paint eingefärbt. Zum einfärben habe ich die Blender Brushes von Taylored Expressions verwendet. Anschließend habe ich ein paar Wasserkleckse mit dem Pinsel aufgetragen und nach kurzer "Einwirkzeit" mit einem Taschentuch wieder abgetupft. Für meine weiße Grundkarte habe ich das Perfect Colouring Paper verwendet. Die Motive aus dem Toucan Do it, I like Naps und dem One in a Chameleon Flip Flop Sets habe ich nach dem stempeln mit Copics coloriert und mit der Schere ausgeschnitten. Den eingefärbten Hintergrund habe ich mit der Lawn Fawn Large Slimline with Sliders Stanze ausgestanzt.  Zusätzlich habe ich noch einen Teil des Tropical Leaves Backdrop mit der Slimline Stanze ausgestanzt und nach dem einfärben mit Twisted Citron und Peeled Paint auf den unteren Teil aufgeklebt. Die Motive habe ich zum Teil mit dem Tombow Multi Talent Liquid Glue und mit Foam Dots auf den Hintergrund geklebt und anschließend alles mit dem Stamp Corner Sticky Tape auf meine weiße Grundkarte geklebt. Die Texte habe ich mit einer Stempelhilfe direkt auf den Hintergrund gestempelt. Zum Abschluss habe ich noch ein paar Clear Drops aus meinem Bestand aufgeklebt.

So Ihr Lieben, nun sage ich Danke für Euren Besuch und wünsche ich Euch noch einen schönen kreativen Tag. Tschüssi und bis bald.

Materialliste:


Freitag, 16. Juli 2021

♥ Rachelle Anne Miller - Little Pilot Digital stamp ♥

 Hi everyone,

I wish you a happy Friday and I'm really glad to see you here again on my blog.

Today I show you a card with a digital stamp from Rachelle Anne Miller. Two weeks ago I was the lucky winner of one digitals stamp in Rachelle Anne Millers Facebook Group. I choose the little pilot digital stamp. You find it here in the RAM shop.

 I start my card with creating the background. Im inking a piece of Bristol smooth cardstock with Distress Oxide Tumbled Glass. Then I use the cloud stencil from My Favorite Things and Distress Oxide Peackock Feathers and create the cloudy background. Then I use the largest die from the Lawn Fawn Stitched Scalloped Rectangle Frames die set and cut the background out. I also cut out a white frame with this die and glue it together with the cloud background.

I printed the digital stamp on a piece of Copic friendly paper and use my Copic Marker for coloring. I fussy cut it out with a scissors and glue it with Foam Tape on the background. My card base is a bit smaller as the white frame. I stamp the sentiment from the Sky High set from My Favorite Things with my Misti Tool directly on the cloud background. For the last step I glue some shimmer sequins on the card and I'm really happy how the card looks like.

Many thanks for stopping by and hope to see you soon here on the blog.

Sonntag, 11. Juli 2021

♥ DT Stamp Corner - Katzen Slimline Karte ♥

Hallo Ihr Lieben,

ich wünsche Euch einen schönen Sonntag und freue mich sehr, dass Ihr heute wieder hier auf meinem Blog vorbei schaut.

Heute zeige ich Euch auf dem Stamp Corner Blog eine neue Inspirationskarte. Ich habe mich diesmal für das neue süße Stamp Corner Katzen 2 Set entschieden und eine Slimline Karte damit gewerkelt.

Für die Karte habe ich ein Stück Perfect Colouring Paper mit den kleinen Zubehör Stempeln aus dem Katzen Set querbeet bestempelt und mit den Copic Marker coloriert. Da ich auf der Karte drei der Katzen verwenden wollte, passte die kleinste Stanze aus dem Time for Tea Designs Slimline Trio Circle Die Set perfekt. Für die Mattung habe ich ein Stück Shimmer Cardstock von Lawn Fawn mit einer Stanze aus dem Scalloped Slimline with Hearts Portrait Die Set von Lawn Fawn ausgestanzt. Für die letzte Lage meiner Karte habe ich die größte Stanze aus dem Large Slimline Set with Sliders von Lawn Fawn verwendet und alles mit dem Stamp Corner Sticky Tape auf meine weiße etwas kleinere Grundkarte geklebt. Die Katzen habe ich ebenfalls mit Copics coloriert und mit der Schere ausgeschnitten. Zum aufkleben habe ich Foam Dots für ein bisschen mehr Dimension verwendet.

So Ihr Lieben, nun sage ich Danke für Euren Besuch und wünsche ich Euch noch einen schönen kreativen Tag. Tschüssi und bis bald.

Materialliste:


Freitag, 9. Juli 2021

♥ DT Magengo - I whale love you with the Whale be okay digital stamps ♥

 Hi everyone,

I wish you a happy Friday and I'm really glad to see you here again on my blog.

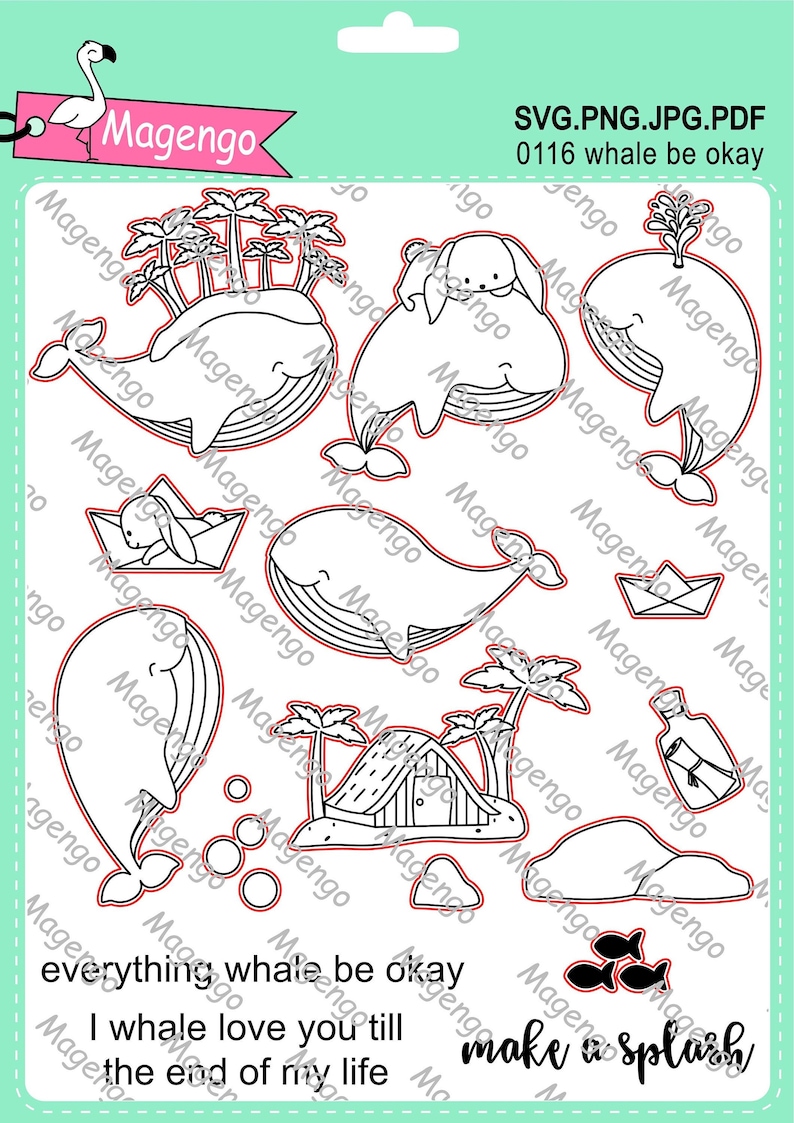
Today I show you a new inspiration card with the cute Whale be Okay digital stamp set on the Magengo Design blog.  You'll find the set here in the Magengo Etsy shop.

 As always I start my card with printing out the images with my laser printer and fussy cut them out with a scissors. For coloring I use some Copic Marker.

Then I lay them aside and create my underwater background. I printed the sentiment on a piece of Bristol Smooth cardstock and cut it out with a stitched rectangle die. For inking I use Distress Oxide Tumbled Glass, Mermaid Lagoon and Chipped Sapphire. Then I glue the underwater plants border with Foam tape on the bottom of the card panel and then on my white card base.

I glue the little whale with liquid glue on the background. For the right whale I glue a Wobbler behind the image.

For the last step I glue some small clear drops fromStudio Katia on the card and I'm really happy how it looks like.

You find the Whale be Okay set here in the Magengo Etsy shop.

Wal be okay Stempel set SVG Dateien druckbares Foto Wal Bild 0

I wish you an amazing day and hope you like my new inspiration card.

Many thanks for stopping by and hope to see you soon here on the blog.


Montag, 5. Juli 2021

♥ DT AAA Birthday Challenge - Game #27 -Embossing Folder ♥

 Hi everyone,

I wish you a happy Monday and I'm really glad to see you here again on my blog.

Today we start a new challenge at the

AAA Birthday Challenge

For this month we have the topic

Embossing Folder


We hope you'll join our new challenge, but remember it must be a birthday card.

 For my card I use a Happy Birthday embossing folder. I start my card with cutting out a piece of Bristol Smooth cardstock  with a scalloped die and a scalloped circle die for the middle. Then I inked the cardstock with Distress Oxide Spun Sugar und Picked Raspberry. After it is dry I use my Happy Birthday embossing folder and I'm really happy how it looks like.

I glue the embossed background with liquid glue on my white card base. For the middle I use the cute Junie stamp designed from Stacey Yacula for Purple Onion Designs. I color it with my Copic Markers and fussy cut it out with my scissors. Then I glue it with Foam Tape in the middle of my card. For the last step I glue some rose pearls on my card.
 
So now it's your turn, we hope you join our new challenge until the 1st August 2021.

Many thanks for stopping by and I hope to see you soon here on my blog. Have a great day.

Freitag, 2. Juli 2021

♥ DT Magengo - Interactive shaker card ♥

Hi everyone,

 I wish you a happy Friday and I'm really glad to see you here again on my blog.

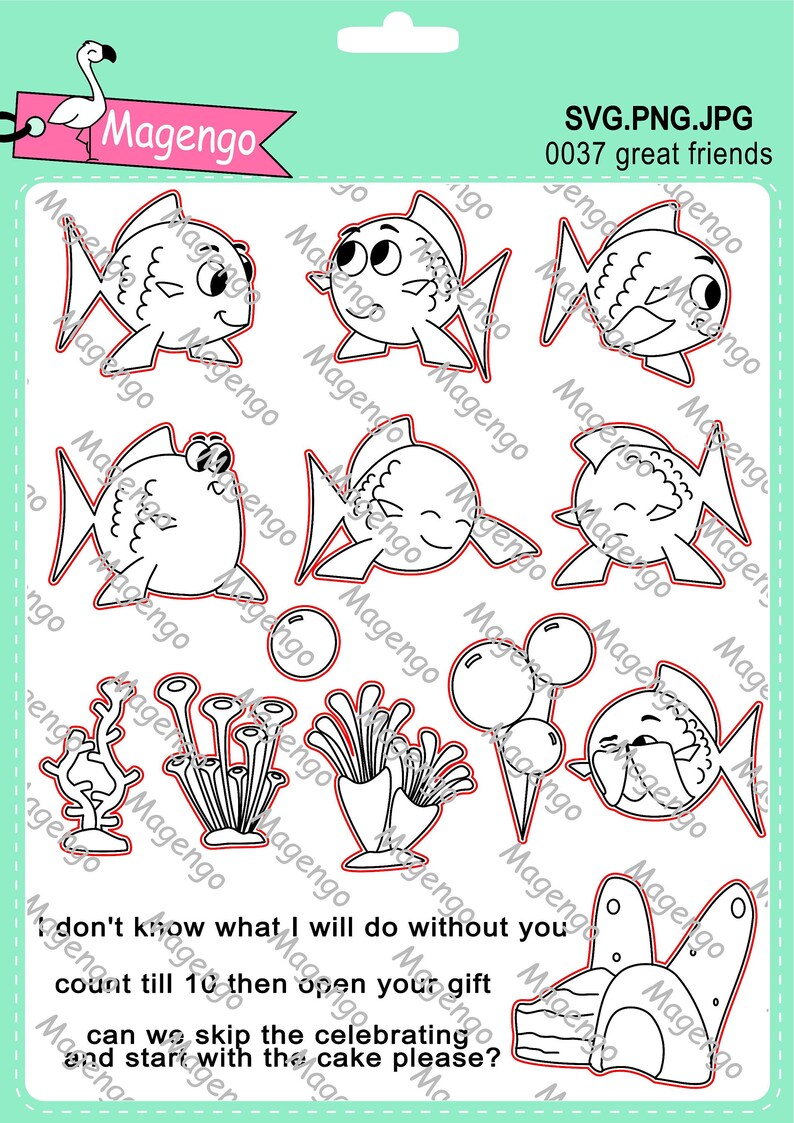
Today I show you on the Magengo Design blog a shaker card with the cute Great Friends Digital stamp set.

 I start my card with creating my background with Nuvo Shimmer Powder Atlantis Burst and Blue Blitz and some Brusho Powders. I also add some white, gold and black splatters with a small brush on the background.


If I'm happy with the result I put the background aside and let it dry. The I cut out a piece of Neenah Desert Storm cardstock with a stitched hill side border und use Distress Ink Tea Dye and Vintage Photo for inking. I also add some watercolor splatters on the sand hill and let it also dry. In the meanwhite I printing out my images with a laser printer. I color all images with Copic Marker and fussy cut them out with my scissors.

Then I cut out my blue background with a stitched rectangle die and glue the sand hill on the blue rectangle. I also cut out my shaker window with a smaller rectangle in the middle from my background and glue a piece of acetate behind. I glue the small cutting rectangle on my white card base. Before I fill up my shaker element with sequins I use a powder tool applicator, so I can be sure that no sequins sticks on the acetate. For the dimensions I glue some Foam Tape on the large background. Then I filled my shaker element with some sequins and glue the large background panel on the card base. I glue the images on the front of the shaker card. I stamp a sentiment on a small white cardstock piece and cut it in the right dimensions. It was really fun to create this shaker card and I hope you like it like I do. 

You find the great friends set here in the Magengo Etsy shop.

Briefmarken Svg-Dateien Schneiden von Dateien Silhouette Bild 0

Many thanks for stopping by and I'll hope to see you soon here on the blog.