Donnerstag, 29. April 2021

♥ Time for Tea Designs - Sending you bear hugs ♥

 Hi everyone,

I wish you a happy Thursday and I'm really happy to see you here again on my blog.

Today I show you a card with the cute Bearing Gifts stamp set from Time for Tea Designs.

For the background of my card I stamp all little sentiments with VersaMark Ink and heat embossed them with white embossing powder. After it is cooled down I inked the background with Distress Oxide Picked Raspberry. 


I cut out a piece of Neenah Desert Storm cardstock with a slimline die and glue it on my white card base. Then I glue the embossed background on the card. I cut out three sqalloped frames several times and stick them over each other. I inked the top layer from the sqalloped frames with Distress Oxide Speggled Egg and let it dry. In the meantime I stamped the images and color them with my Copic Markers. I fussy cut them out with a scissors. Then I glue the scalloped frames on my card and in the middle the cute little bears. For the sentiment I use a banner from the Mini Frame & Banner Die set and glue it with Foam Tape on the card. For the last step I glue some clear drops on the card. 

I'm really happy how it looks like and I hope you like it also.

Many thanks for stopping by and I hope to see you soon here on my blog. Have a great day.

Mittwoch, 28. April 2021

♥ DT Magengo - Enjoy the day card ♥

 Hi everyone,

 I wish you a happy Wednesday and I'm really happy to see you here again on my blog.

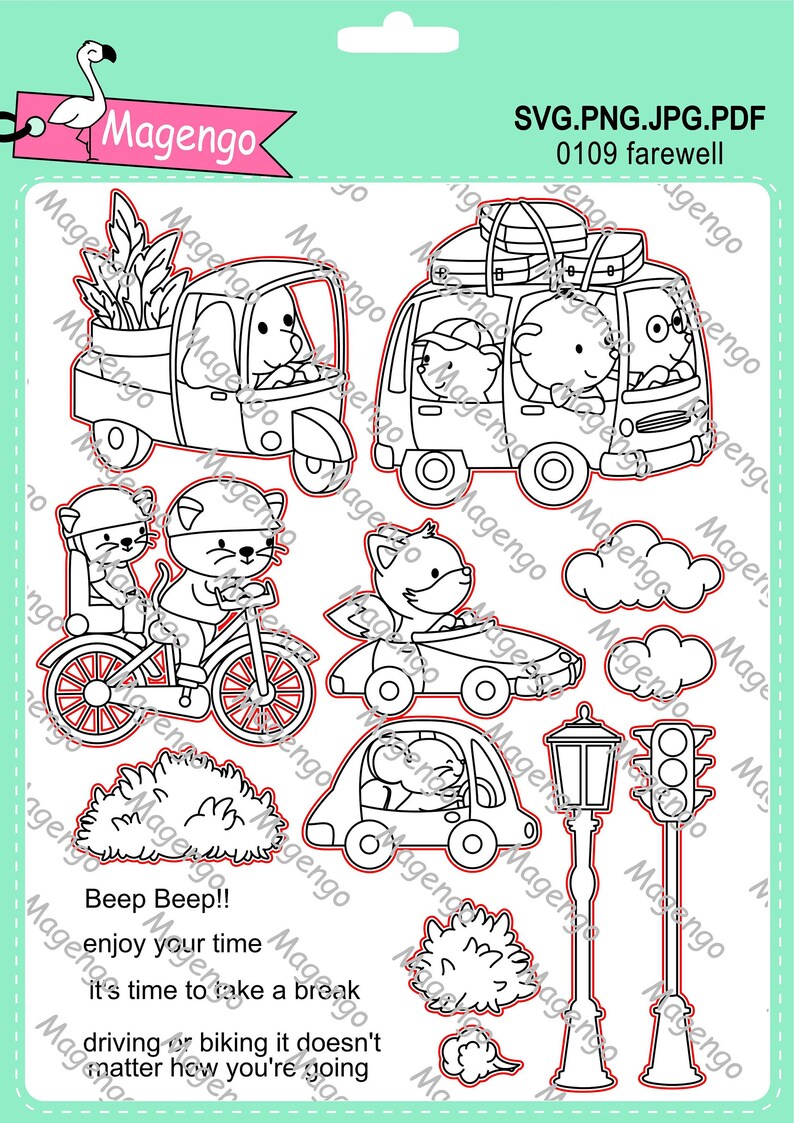
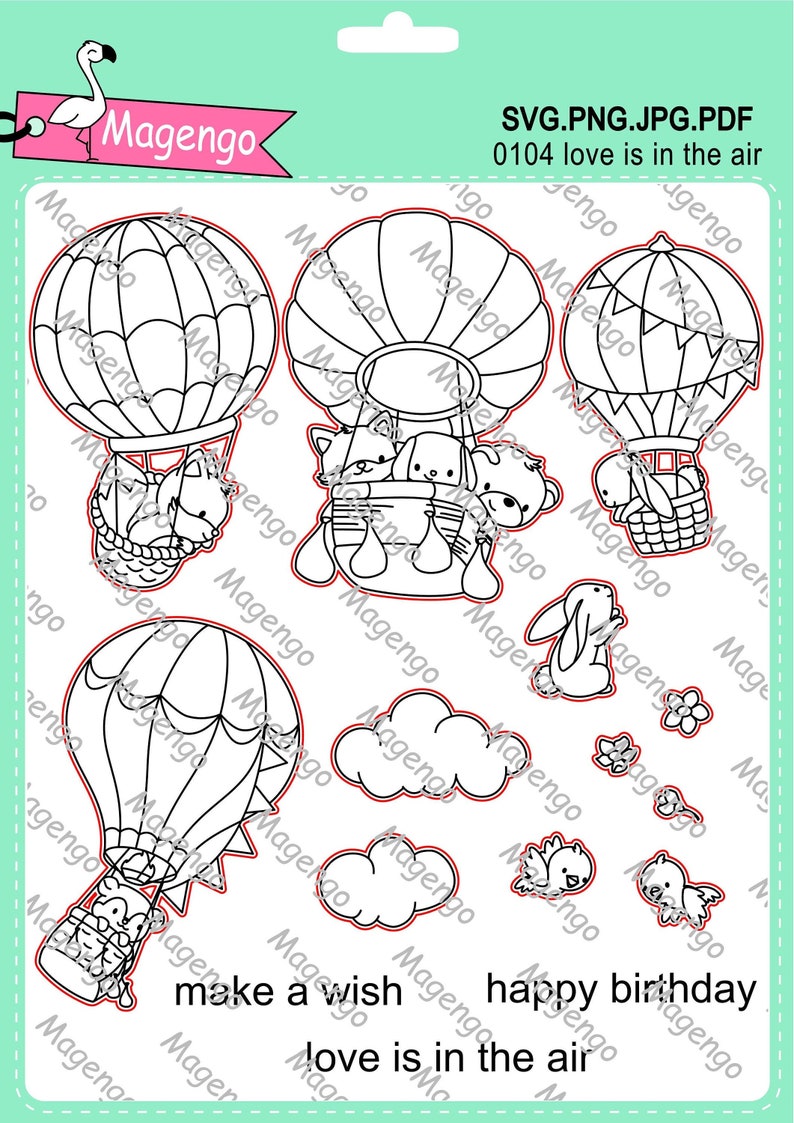
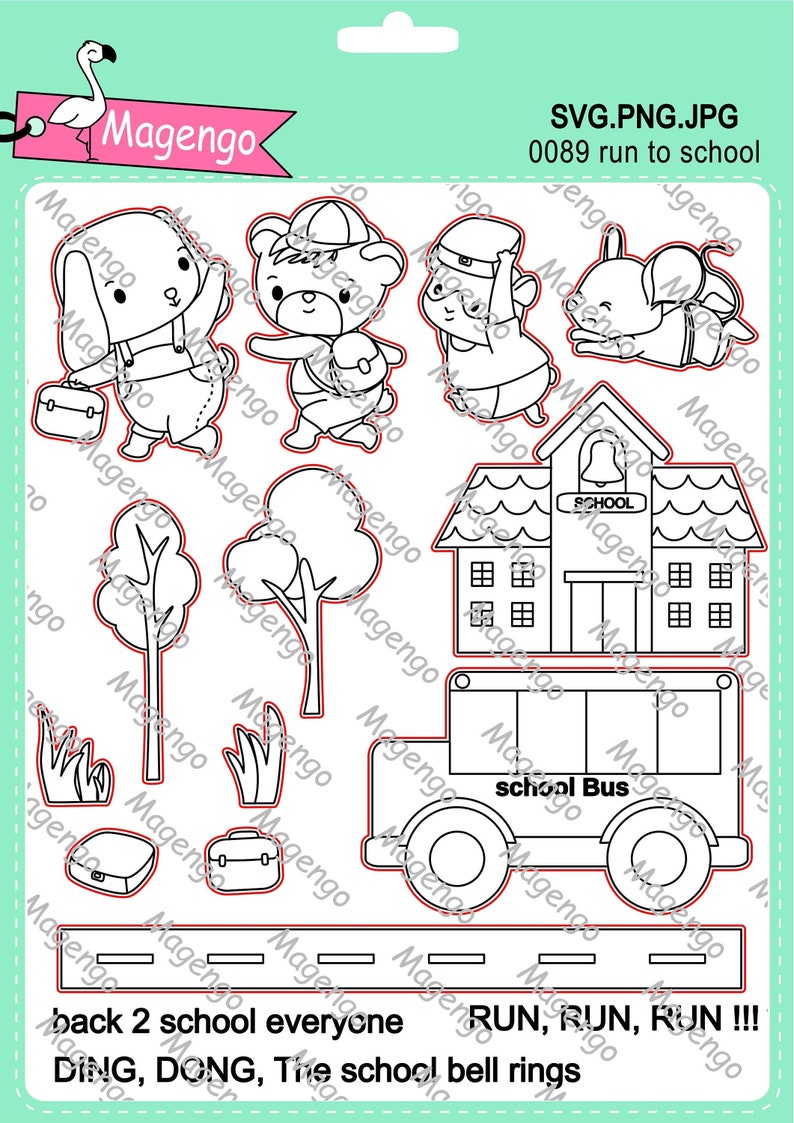
Today I'm on the Magengo Design blog with a new inspiration card with the cute Farewell Digital stamp set. I also use images from the Love is in air set and from the Run to school set.

Abschied digitale Stempel und Svg-Datei Kartonherstellung image 0

Liebe ist in der Luft digitalen Stempel und Svg-Datei image 0

 Run auf schule digitale Stempel-Set Svg-Dateien druckbare image 0

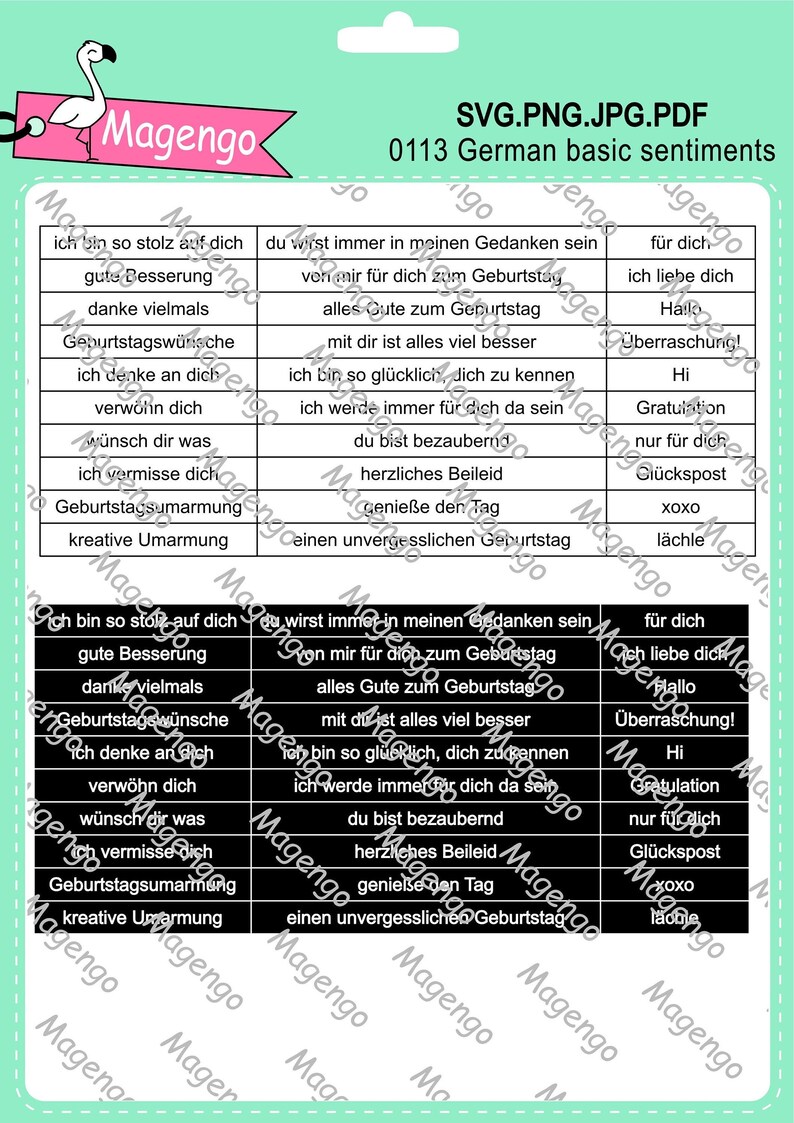
Deutsche Grundstimmungen digitale Stempel und Svg-Datei image 0

I start my card with printing the images with my laser printer and fussy cut them out with a scissors. I use my Copic Markers for coloring the images and add some highlights with a white Gel pen.

Then I cut out a piece of Bristol Smooth cardstock with a stitched rectangle die from Heffy Doodle. 

 I inked the background with Distress Oxide Fossilized Amber, Carved Pumpkin and Distress Ink Barn Door. After the background is dry I assemble my background panel and glue it on a white card base. For more dimension I glue some images with Foam Tape on the background. For the sentiment I use a phrase from the Basic German Sentiment Set, fussy cut it out with my scissors and glue it with liquid glue on my card. For the last step I glue some little sequins on the card. 

I'm really how the card looks like and I hope you like it also.

Many thanks for stopping by and I hope to see you soon here on my blog. Have a great day.

Montag, 26. April 2021

♥ DT Stamp Corner - Wikinger Shaker Tags ♥

 Hallo Ihr Lieben,

eigentlich sollte dieser Beitrag ja heute früh um 10:00 Uhr online gehen, aber manchmal kommt es im Leben halt anders.

Heute zeige ich Euch auf dem Blog von Stamp Corner zwei Shaker Tags mit den süßen Wikinger Stempel von Stamp Corner.


Für die Grundform der Tags habe ich die My Favorite Things Stitched Traditional Tag Stax Stanze verwendet. Den Hintergrund habe ich mit Distress Oxide Wild Honey und mit Speckled Egg eingefärbt. Das kleinere Tag mit dem Shaker Ausschnitt habe ich mit dem neuen Stamp Corner Design Papier ausgestanzt. Das neue Design Papier ist Teil des neuen Release, der ab dem 01.05.21 im Shop erhältlich sein wird. Ihr könnt echt gespannt sein, da sind soooooo viele geniale Produkte dabei.  Also notiert Euch das Datum in Eurem Kalender, damit Ihr nichts verpasst.

Die süßen Wikinger habe ich mit Copics koloriert, mit der Schere ausgeschnitten und mit dem neuen Stamp Corner Sticky Tape aufgeklebt. Für den Text habe ich einen Stempel aus einem Lawn Fawn Set verwendet.

Ich wünsche Euch noch einen schönen kreativen Tag, Tschüssi und bis bald.

Materialliste:

Dienstag, 20. April 2021

♥ DT Stamp Corner - Challenge #40 Colorieren ♥

 Hallo Ihr Lieben,

ich wünsche Euch einen wunderschönen Dienstag und freue mich sehr, dass Ihr heute wieder hier auf meinem Blog vorbei schaut.

Heute startet auf dem Blog von Stamp Corner wieder eine neue 

Stamp Corner Challenge


 Diesmal haben wir folgendes Thema für Euch

Challenge #40 Colorieren

Zeigt uns, was Ihr coloriert – ob Anfänger oder Fortgeschritten, jeder kann mitmachen und wir freuen uns über alle Werke

 Karten, Layouts, Boxen oder oder oder

Wir freuen uns auf viele tolle Werke

Bringt uns zum staunen!

Zu Gewinnen gibt es auch wieder etwas:

 2x

einen 10,- Euro Gutschein

für den Shop www.stampcorner.de

Also, mitmachen und einen von 2 Gutscheinen gewinnen!!!

Ihr habt nun bis zum 19.05.2021, 23:59 Uhr Zeit uns im Kommentarfeld euren Bloglink/Instagram/Facebooklink oder ein Foto von Eurem Werk zu posten.

Die Regeln findet Ihr hier.

Wir freuen uns auf tolle Werke von Euch.

Bei meiner Karte habe ich mich für die Motive aus dem Quack me Up Set von Heffy Doodle entschieden.

Für den Hintergrund habe ich ein Stück Bristol Smooth Cardstock mit den Karin Brushmarker Pro coloriert und trocknen lassen. Die Motive habe ich mit Copics coloriert und mit der Schere ausgeschnitten. Für die Farngräser habe ich eine Stanze von Lawn Fawn verwendet. Den Hintergrund habe ich mit einer Heffy Doodle Stanze ausgestanzt und anschließend meine Szene zusammengefügt. den Text habe ich mit dem Misti Tool direkt auf den Hintergrund gestempelt.


So Ihr Lieben, nun seid Ihr wieder an der Reihe. Wir freuen uns schon sehr auf Eure Werke, die Ihr bis zum 19.05.2021 auf dem Blog zeigen könnt.

Nun wünsche ich Euch noch einen schönen Tag, Tschüssi und bis bald.
 

Montag, 19. April 2021

♥ DT Magengo - Thinking of You with Bee Mine Digital Stamps ♥

 Hi everyone,

 I wish you a happy Monday and I'm really glad to see you here again on my blog.

 Today I'm on the Magengo Design Blog and show you my new inspiration card with the cute Bee Mine Digital Stamp Set.

I start my card with creating the flower border. I create this border in Microsoft Word and printed it out on a Copic Marker friendly paper. I also printed out the little bees and the clouds. I color all images with my Copic Markers. For the flower border I decide to color them in a rainbow order. 


 I cut out the my card panel with a stitched rectangle die from Heffy Doodle. I use Distress Oxide Twisted Citron for inking the grass and Distress Oxide Tumbled Glass for the sky.

Then I decide to print out another three flowers and color only the blossoms. I cut them out with a scissors and glue them for more dimension with Foam Tape on the card. I gue the clouds and the bees also with Foam Tape on the background. I stamp a sentiment from my stash (Pretty Pink Posh) directly on the background. For the last step I glue the card panel on my white card base and add two little rhinstones on the card.

I hope you like this card like I do. 

Many thanks for stopping by and I hope to see you soon here on my blog. Have a great day.

Freitag, 16. April 2021

♥ DT Stamp Corner - sommerliche Mäuse Geburtstagskarte ♥

 Hallo Ihr Lieben,

ich wünsche Euch einen schönen Freitag und freue mich sehr, dass Ihr heute wieder hier auf meinem Blog vorbei schaut.

 Heute zeige ich Euch auf dem Stamp Corner Blog eine sommerliche Geburtstagskarte mit einem Stempel aus dem neuen Stamp Corner Mäuse Set. Zusätzlich habe ich noch Stempel von Sunny Studio Stamps und Lawn Fawn verwendet.


Für den Hintergrund habe ich ein Stück Perfect Coloring Paper mit Distress Oxide Salty Ocean, Dried Marigold, Picked Raspberry und Abandoned Coral eingefärbt und trocknen lassen. In der Zwischenzeit habe ich die Palmen aus dem Seasonal Trees und dem Sending Sunshine Set von Sunny Studio Stamps, die Krabbe, die Muschel, den Seestern und den Buddeleimer aus dem Life is Good Set von Lawn Fawn gestempelt und mit Copics koloriert. Für den Sandhügel habe ich ein Stück  hellbraunen Cardstock mit Distress Oxide Tea Dye eingefärbt und weiße, goldene und schwarze Aquarellfarb Kleckse aufgetragen und trocknen lassen. Den Hintergrund habe ich dann mit der größten Stanze der Imperial Stitched Rectangle Dies von Heffy Doodle ausgestanzt und auf eine weiße Grundkarte geklebt. Den Sandhügel habe ich mit einer Stanze aus dem Slimline Stitched Hillside Borders Set von Lawn Fawn ausgestanzt und mit dem neuen Stamp Corner Sticky Tape auf den Hintergrund geklebt. Die kolorierten Motive habe ich mit der Schere ausgeschnitten und mit Tombow Multi Talent Liquid Glue aufgeklebt. Die kleine süße Maus habe ich mit Foam Dots aufgeklebt. Den Schriftzug und die Möwen habe ich mit einer Stempelhilfe direkt auf den Hintergrund gestempelt.

Ich sage Danke für Euren Besuch und wünsche ich Euch noch einen schönen kreativen Tag. Tschüssi und bis bald.

Materialliste:


Sonntag, 11. April 2021

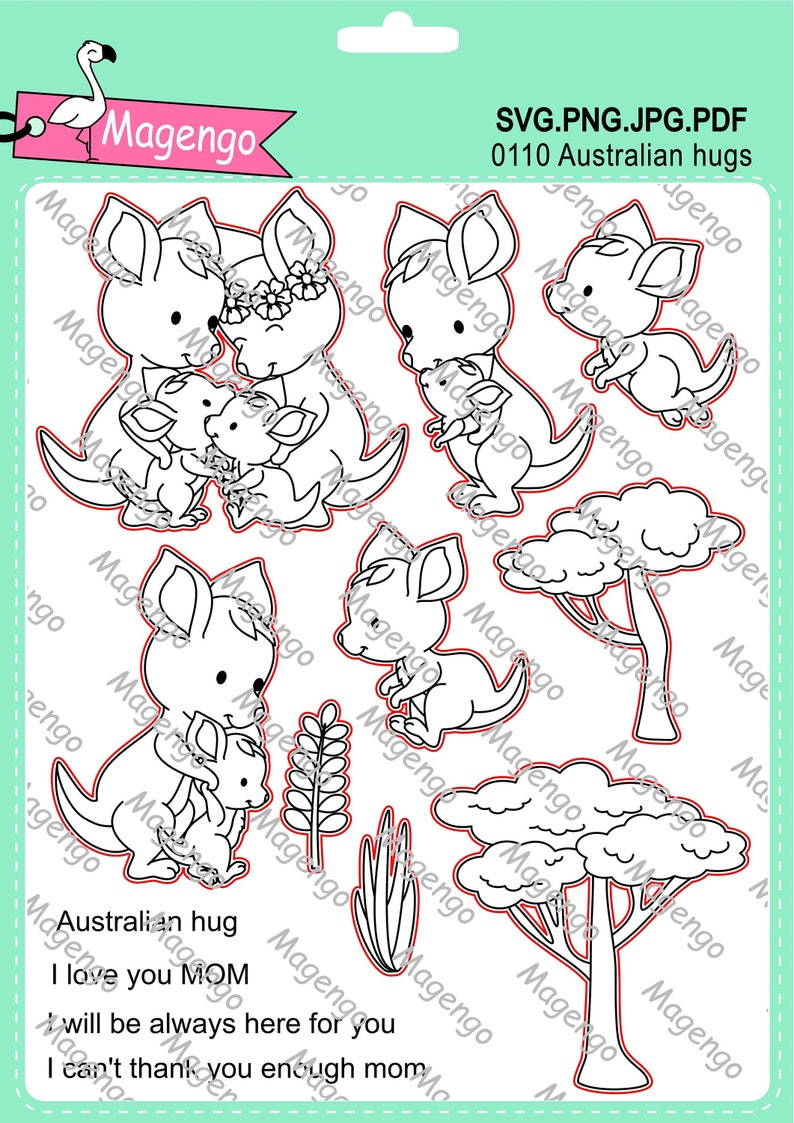
♥DT Magengo - Australian Hugs ♥

 Hi everyone,

I wish you a happy Sunday and I'm really glad tosee you here again on my blog.♥  

Today I'm on the Magengo Design Blog and show you my first card with the Australian Hugs Set from the new release.

You find all the new products here in the Magengo Etsy Shop.

For today I decided to create a birthday card with the cute kangaroos fom the Australian Hugs Digital Stamp set, which you find here in the shop.

Australische Umarmungen digitale Stempel und Svg-Datei image 0

I start my card with creating a Distress Oxide background. I inked a piece of Bristol Smooth cardstock with Distress Oxide Wild Honey, Rusty Hinge, Forest Moss, Walnut Stain and let it dry.

In the meantime I printed out the images from the Austraian Hugs Digital Stamp Set with my Laser Printer and fussy cut them out with a scissors. I color all images with my Copic Markers and arrange them on the background. I cut out the background with a stitched rectangle die and decided to cut out a grass border and use Distress Oxide Forest Moss and Walnut Stain. After it is dry I glue the grass border on the background and glue all images with liqued glue to my scene card. I glue the cute kangaroos with Foam Tape for more dimension on the card. I also glue some clear drops and enamel dots as flowers on my card. Then I glue all on my white card base. I also cut a little cloud, inked it with Distress Oxide Rusty Hinge and glue it on the card. For the final step I stamp the sentiment with my Misti Tool directly on the card.

I hope you like this birthday card like I do.

Many thanks for stopping by and I hope to see you soon here on my blog. Have a great day.

Samstag, 10. April 2021

♥ DT Stamp Corner - Happy Birthday Mäuse ♥

Hallo Ihr Lieben,

ich wünsche Euch einen schönen Samstag und freue mich sehr, dass Ihr heute wieder hier auf meinem Blog vorbei schaut.

Heute ich zeige Euch auf dem Blog von Stamp Crner meine erste Karte mit dem süßen neuen Stamp Corner Mäuse Set aus dem neuen Release.

Ich habe mich für eine Geburtstagskarte mit einem Stencil Hintergrund entschieden.


Für die Karte habe ich ein Stück Perfect Colouring Paper mit der Stitched Scalloped Rectangle Frames Stanze von Lawn Fawn ausgestanzt. Auf dem mittleren Teil habe ich ein Stencil mit einer ovalen Öffnung von Time for Tea Design befestigt und mit Distress Oxide Tumbled Glass eingefärbt. Anschließend habe ich das Stamp Corner Stencil Geometric 3 drüber gelegt und mit Distress Oxide Peacock Feathers eingefärbt. Nach dem trocknen habe ich den mittleren Teil wieder mit dem Rahmen zusammen geklebt und auf meine etwas kleinere Grundkarte geklebt. Die Mäuse habe ich mit Copics koloriert, mit der Schere ausgeschnitten und mit Foam Dots auf den eingefärbten Hintergrund geklebt. Den Text habe ich nach dem stempeln ebenfalls mit Foam Dots aufgeklebt. Zum Schluss habe ich noch farblich passende Perlen aus meinem Bestand aufgeklebt.


Nun sage ich Danke für Euren Besuch und wünsche Euch noch einen schönen kreativen Tag bzw. Wochenende. Tschüssi und bis bald.

Materialliste:


Mittwoch, 7. April 2021

♥ DT Stempelgarten - Challenge #103 Frühlingsfarben ♥

 Hallo Ihr Lieben,

ich wünsche Euch einen schönen Mittwoch und freue mich sehr, dass Ihr heute wieder hier auf meinem Blog vorbei schaut.

Seit Montag läuft eine neue Challenge auf dem

Stempelgarten Challenge Blog


Diesen Monat haben wir uns folgendes Thema für Euch überlegt

Frühlingsfarben

 
Ihr habt bis zum 30.4.2021 Zeit an der neuen Challenge teilzunehmen. Natürlich gibt es auch wieder etwas zu gewinnen und zwar dieses Bastelpaket im Wert von über CHF 20.00.


Für meine Karte habe ich das Tea Party Set von My Favorite Things verwendet, dass schon eine gefühlte Ewigkeit hier unbenutzt wartete um zum Einsatz zu kommen.*hihi*


Den Hintergrund habe ich mit Distress Oxide Tumbled Glass und den Rasen mit Twisted Citron eingefärbt. Die Motive habe ich mit Copics koloriert, ausgeschnitten und auf den Hintergrund geklebt. Für den weißen Rahmen habe ich die My Favorite Things Stitched Rectangle Scallop Frames Die-namics verwendet und alles auf meine weiße Grundkarte geklebt. Die Girlande und den Text habe ich mit dem Misti Tool direkt auf gestempelt. Zum Schluss habe ich noch ein paar farblich passende Perlen und Cleardrops auf die Girlande und Blumen geklebt.

So, nun seid Ihr wieder an der Reihe. Zeigt uns Eure kreativen Werke, wir sind schon ganz gespannt auf Eure Umsetzungen. 

Nun sage ich Danke für Euren Besuch und wünsche ich Euch noch eine schöne kreative Woche. Tschüssi und bis bald.

Montag, 5. April 2021

♥ DT AAA Birthday Challenge - Game #24 - A Shaped Card ♥

 Hi everyone,

I wish you a happy Monday and I'm really glad to see you here again on my blog.

Today we start a new challenge at the

AAA Birthday Challenge

For this month we have the topic:
A Shaped Card

 You can take part of our challenge until the 2nd. May, we can't wait to see your creations.

For my card I decided to cut out a round scalloped shape and use some stamps from Lawn Fawn. 
 
I create a background with Distress Oxide Tumbled Glass and Peacock Feathers and cut it out with a stitched circle die from My Favorite Things. Then I create a grass border with Distress Oxide Twisted Citron and Peeled Paint and cut it also out with the circle die. I glue the blue background on a Kraft circle and then the grass border on the blue background. I cut out the white scalloped shape and glue my background on the scalloped shape. I colored the images from Lawn Fawn Party Animals and Bithday Before ' N Afters Set with my Copics, cut them out and glue them on my card. I stamp the sentiment with my Misti Tool directly on the card. For the final touch I glue three little rhinestones on the card and I'm really happy how it looks like. I think I will create these round shape cards often more.

So now it's your turn. I'll hope you join our new challenge, but remember it must be a birthday card.
 
Many thanks for stopping by and I hope to see you soon here on my blog. Have a great day.

Samstag, 3. April 2021

♥ DT Stamp Corner - Wikinger Geburtstagskarte ♥

 Hallo Ihr Lieben,

ich wünsche Euch einen schönen Samstag und freue mich sehr, dass Ihr heute wieder hier auf meinem Blog vorbei schaut.

Heute zeige ich Euch auf dem Stamp Corner Blog eine Geburtstagskarte mit einem der neuen Stamp Corner Stempel Sets. Ich habe mich heute für das süße Wikinger Set entschieden. Alle neuen Sets findet Ihr hier im Shop.


Für den Hintergrund wollte ich unbedingt die Berge und den Strand von Lawn Fawn verwenden. Die Berge habe ich mit der Lawn Fawn Stitched Mountain Borders Stanze aus grauem und weißem Cardstock gestanzt. Für die Wellen habe ich ein Stück Perfect Colouring Paper mit Distress Oxide Salty Ocean und ein zweites Stück Papier mit Distress Oxide Mermaid Lagoon eingefärbt und mit den Lawn Fawn Stitched Simple Wave Borders ausgestanzt. Den Strand und den Rahmen habe ich mit der Lawn Fawn Tropical Backdrop Stanze ausgestanzt und einfach die Palmen abgeschnitten. Für den Strand habe ich ein Stück hell braunen Cardstock mit Distress Oxide Tea Dye eingefärbt und mit Aquarellfarben weiße, braune und schwarze Kleckse aufgetragen. Den Himmel habe ich mit Distress Oxide Tumbled Glass eingefärbt. Die kleine Schatztruhe und der Text sind aus dem Lawn Fawn Ahoy Matey Stempel Set. Die Motive habe ich mit Copics koloriert, mit der Schere ausgeschnitten und zu einer kleinen Szene arrangiert.

Ich sage Danke für Euren Besuch und wünsche ich Euch ein wunderschönes Osterfest und einen fleißigen Osterhasen. Tschüssi und bis bald.

Materialliste: